How to Make Enamel Pins – The Ultimate Guide
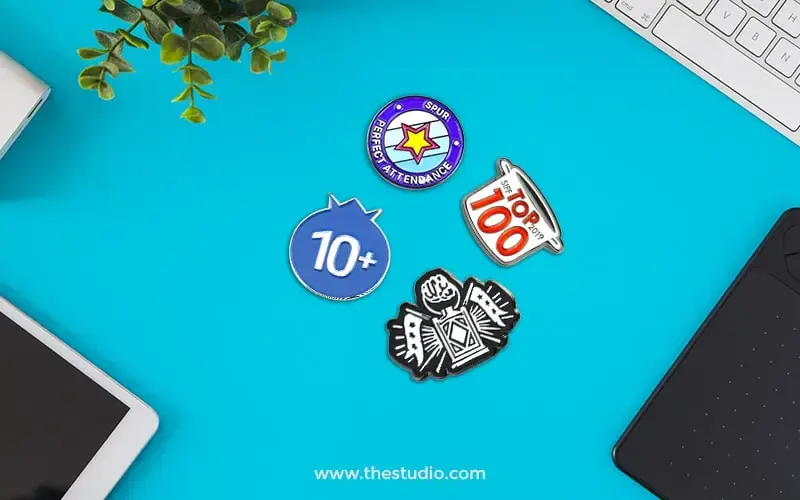
It’s no secret that pins are LOADS of fun.
Whether they’re used to decorate a purse, add bling to a jean jacket, or show company pride with a stylized logo, they’re a unique way to make something your own.
But making an enamel pin goes far beyond simply dreaming up a fun design and deciding where you’ll put it.
It involves complex materials and a lot more choices than you’d ever expect… and until recently, only large-scale creators and businesses had access to the sort of necessary production tools.
But nowadays, any creator can make custom enamel pins and use them to decorate clothing, sell in an online store, or strengthen brand awareness for their company.
To make high-quality custom enamel pins, all you have to do is:
- Find a manufacturer
- Choose your pin type
- Customize your pin’s specs
- Design your pin
- Approve a sample
- Ship your pins
As long as you partner with the right manufacturer to bring your entire vision to life, it’s a very simple and straightforward process. We’ll walk you through exactly how to make enamel pins, from beginning to end.
1. Find a Manufacturer

Some custom products are totally possible to DIY. While you absolutely could outsource production of printed tees, stickers, or prints, with the right equipment and a little bit of patience it’s also possible to produce those sort of high-quality custom products from home.
However, when it comes to products like patches, socks, beanies, coins, keychains, and enamel pins, it’s best to leave manufacturing up to the experts.
Especially if you’re just about to start your enamel pin business, you can’t afford to partner with an unreliable or low-quality enamel pin manufacturer. The difference between a quality enamel pin and a cheap one can be totally disastrous – for you, your business, and your customers. But you can’t very well vet every factory or company you’re considering partnering with in-person… So how can you be sure you’ll get a great value?
A great enamel pin manufacturer will make it easy for you to design and customize high-quality pins at a fair price, with satisfaction guaranteed. Ideally, they’ll offer an online design service with excellent customer service and tons of customization options.
Here are a few things to look out for as you’re researching various pin manufacturers:
- Offers multiple pin options
- Offers excellent customization options
- Offers design services
- Partners with top factories
- Offers great customer service
- Fast turnaround time
- Fair pricing
- Free shipping
- Low MOQs
- Great reviews
- Satisfaction guaranteed
Which enamel pin manufacturer should you choose?
Many enamel pin manufacturers claim to offer quick-produced, high-quality enamel pins to businesses of all sizes. Feeling overwhelmed by all the options? THE/STUDIO is a great place to start. THE/STUDIO offers an easy-to-use product creation tool, with high-quality enamel pin production that checks all of the above boxes. Learn more about creating enamel pins online with THE/STUDIO here.
2. Choose Your Pin Style

Once you’ve found a manufacturer to work with, it’s time to turn your attention to the pins themselves.
If you’re already set on making enamel pins, you’re already halfway there. And you’ve made a great choice – enamel pins are a colorful, bold, iconic way to dress up a plain jacket or bag. (And they’re the perfect impulse buy to add to your online store or near the checkout line in your brick-and-mortar boutique!)
But wait! Did you know that there are two main types of enamel pins? You can choose between soft enamel pins or hard enamel pins. The type of enamel pin you choose will not only affect the cost and production process of your pin but also its overall look and feel.
Soft enamel pins
Soft enamel pins use enamel that forms valleys between metal lines. Essentially, a soft enamel pin is first plated with metal die lines, then enamel colors are added to the open layers of the design. Soft enamel pins offer a classic, textured pin look. It also allows for a higher level of detail. Soft enamel pins are one of the most affordable custom pin options.
Hard enamel pins
Hard enamel pins are also created using colored enamel, but the process looks a little different. Hard enamel pins are created by adding each color individually, then baking the enamel separately directly onto the pin. This allows for a seamless, smooth, colorful effect that’s uninterrupted by metal lines. The enamel is polished flat across the pin’s surface. Hard enamel pins typically cost more than soft enamel pins due to the more involved design process.
Still not sure which enamel pin type is the right fit for your needs?
If your heart isn’t necessarily set on enamel pins quite yet, consider exploring other custom pin options. At THE/STUDIO, we also offer die-struck pins, offset printed pins, and 3D mold pins.
Die-Struck Pins
Die-struck pins use raised and recessed metal to bring custom designs to life. They’re a bit like a coin in that the design is in the texture, not in color or enamel additions. Die-struck pins are ideal for designs that would look great imprinted on metal and don’t require any color. Die-struck pins are one of the most affordable custom pin options.
3D Mold Pins
3D mold pins are great for uniquely shaped custom designs. Created by forming a custom mold and pouring metal into it, these pins can be customized to suit any shape or detail, no matter how intricate. Like die-struck pins, 3D mold pins are typically made with metal only, without color. 3D mold pins typically cost more than soft enamel pins or die-struck pins.
Which pin style should you choose?
The best pin style for your business depends on what you’re looking for. If you have a bold, colorful design that doesn’t require a very high level of detail, hard enamel pins may be the best option for you. If you’re looking for the most inexpensive pin option, soft enamel pins or die-struck pins will help you save more. If you’ve got a uniquely shaped design that doesn’t require any color, a 3D mold pin might be the best bet. If you want a more photorealistic look, consider choosing an offset printed pin. It’s really up to you!
3. Customize your pin

Now that you have a good idea of what type of pin you’re setting out to make, you’re ready to start the product creation process. We recommend using THE/STUDIO’s DIY product creation tool – it’s straightforward, affordable, and extremely customizable.
First, you’ll indicate what type of pin you’ll create, how big each pin will be, and how many pins you’re planning on ordering. (Note that the per-pin price will vary depending on how large of an order you place.)
Then, it’s time to customize! When you’re ordering a custom pin, you have practically endless options of how to make it your own. The exact customization options you’ll have will depend on the enamel pin manufacturer you partner with, but here are the options you’ll have if you choose to partner with THE/STUDIO:
- Material color/finish – choose a shiny gold, shiny gunmetal, shiny silver, black paint, shiny nickel, antique gold, antique silver, shiny rose gold, shiny brass, antique brass, antique nickel, shiny copper, antique copper, or a brushed brass finish. You’ll also have the option to choose two metal colors of the same finish if you’d prefer.
- Backing attachment – choose between a traditional butterfly clutch pin backing, a rubber clutch backing, deluxe clutch backing, 2-piece magnet backing, safety pin backing, bar magnet backing, rubber clutch backing, or bent legs backing.
- The number of colors in design – choose whether your design will involve no color, less than 5 colors, or any other range of colors up to 21+.
- Additional upgrades – choose whether you’d like to add on glitter enamel, embossing, extra backing attachments, engraving, sand-blasting, thin epoxy coating, glow-in-the-dark enamel, debossing, rhinestones, translucent enamel, or aluminum core metal to your pin.
- Custom backing cards – indicate whether you’d like to also order custom backing cards to make your pins 100% retail-ready.
Note that some customization options may involve an additional cost.
4. Design your pin

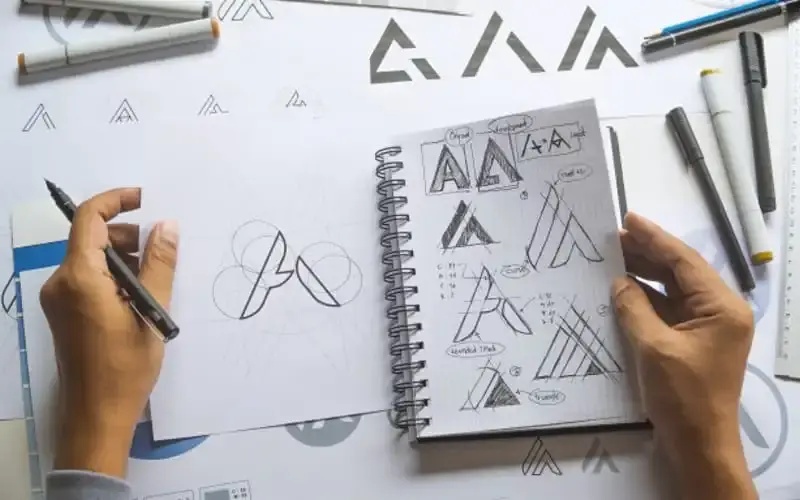
Time for the fun part! Now, it’s time to design your pin. If you’re rather artistic or if you’ve already been selling t-shirts, stickers, or prints with your designs on them, you might already have this totally covered. All you’ll have to do is figure out how big your pin will be, create a design that suits the type of pin you’ve chosen, and create an eye-catching design that would look great on a pin.
Since pins are usually rather small, we recommend keeping your pin design simple, keeping text to a minimum, and using a bold color palette (or a highly textured design, if you’re creating a pin with no color.) Once you’ve finalized your design, just upload your artwork in our DIY online product creation tool and we’ll take care of the rest!
Not a designer? No worries! As long as you’re sure to partner with a pin manufacturer that offers free design services, you’ll still be able to create a beautiful pin. Simply get your ideas on paper the best you can and our expert design team will help bring them to life. We’ll send you over a mockup of the design before creating a prototype – if all looks good, we’ll move forward with production, if not, we’ll tweak and revise the design as many times as it takes to get it right. (For free, of course!)
5. Approve a sample

You want to partner with a manufacturer you can trust… but at the same time, you also don’t want to have to trust anyone blindly! Most of the best enamel pin manufacturers will create a mockup or prototype for your approval before moving forward with production. You’ll either receive a physical prototype of your enamel pin in the mail or receive a few photos of a finished pin from all angles.
Again, you can feel free to request revisions at no additional cost – but if all looks good, you’ll approve the sample and your manufacturers will move forward creating the rest of your pins to match.
6. Receive your pins

After a relatively short turnaround time, your pins will be finished and you’ll receive them in the mail, ready to sell or decorate or hand out to your employees or do whatever you plan on doing with them. THE/STUDIO offers free domestic U.S. shipping, with rush shipping available if you’re in a hurry. All orders come with a 100% satisfaction guarantee, so you’re guaranteed to be super happy with your order or get your money back.
Once you have your pins in hand, all that’s left for you to do is to sell them to your target audience!
Now that you know all of the steps of how to make enamel pins, you’re ready to start creating! Access THE/STUDIO’s DIY enamel pin creation tool here.


